Guide to measuring the horse's back for the manufacture of a custom saddle tree
This guide has been designed by L’Arçonnerie Française to assist saddlers and equestrian professionals in taking precise measurements of the horse’s back. It serves as a reference tool for the manufacture of custom-made saddle trees, intended for demanding saddlers wishing to adapt each creation as closely as possible to the horse’s morphology.
Our method applies to all types of saddle trees, regardless of the equestrian discipline. The accuracy of the data collected is decisive in ensuring optimal fitting, preserving the horse’s comfort, and supporting the rider’s performance.
In this document, you will find all the key steps, from the required equipment to the transmission of measurements, including profiling techniques and recommendations to obtain reliable results.
This document is exclusively intended for saddlers and qualified professionals.
The accuracy and reliability of the measurements provided directly determines the quality and conformity of the manufactured saddle tree.
Objective and importance of measurement
The manufacture of a custom-made saddle tree represents excellence in the art of saddlery. This crucial first step, measurement taking, largely determines the final quality of the saddle and its adaptation to the horse. An improperly fitted saddle tree may cause stress, pain, injury, muscular imbalances, and decreased athletic performance for the horse and rider.
Each horse possesses a unique morphology, much like a fingerprint. Withers width, back curvature, rib symmetry, and back length vary considerably from one individual to another, even within the same breed. Furthermore, a horse’s musculature evolves with age, training, and changes in physical condition.
The precision of the measurements provided directly influences the distribution of pressure exerted by the rider on the horse's back. Optimal distribution preserves muscular and skeletal integrity while ensuring stability and comfort for the rider.
This guide will enable you to acquire the methodology necessary to accurately record the measurements required for the design of a perfectly adapted saddle tree. You will learn how to identify essential anatomical landmarks, correctly use measuring tools, and transmit this information to us in an optimal manner.
Required equipment
To guarantee precise and usable measurements, it is essential to use appropriate tools capable of faithfully capturing the morphology of the horse’s back.
Flexible wire
Ideally, use a commercially available flexible profile gauge designed to accurately reproduce back curves. Alternatively, a malleable yet sufficiently rigid wire (aluminum or lead), approximately 50 cm in length and 2 to 3 mm thick, is perfectly suitable.
This tool allows accurate recording of the midline as well as transverse sections.
Adhesive tape
Adhesive tape is used to clearly mark reference points directly on the wire (specifically A, B, and C on the midline wire).
Choose a model that is easy to handle, clearly visible, and not excessively wide.
Temporary marker
A grease pencil or chalk allows temporary marking of anatomical reference points on the horse.
Marks must be clearly visible for photography, while remaining easy to remove.
A3 paper sheets
A3-size white sheets of paper are needed to plot the profiles measured using the wire to scale.
This size provides the space required to draw the curves accurately and add technical annotations.
If necessary, multiple sheets can be joined together.
Camera
A good-quality digital camera ensures clear, properly framed photographs from different angles, complementing the measurements and providing a faithful overall view of the horse’s morphology.
Spirit level
A spirit level with an integrated angle gauge, similar to those used in carpentry, ensures precise control of the midline wire's inclination relative to the horizontal and guarantees accurate transfer onto paper.
Identification of anatomical reference points
Before measuring the horse’s back, it is imperative to carefully identify and mark key anatomical reference points. This step ensures repeatability and guarantees optimal adaptation of the custom saddle tree.
BACK : Midline of the back
Draw a midline along the spine, from the withers to the last rib, using a grease pencil or chalk. This line serves as a symmetry reference for all measurements and ensures proper positioning of the flexible wire at each stage.
A : The withers (5th thoracic vertebra)
At the top of the shoulder, identify the rounded prominence formed by the end of the scapula, just below the withers, and move two fingers downward. The rear of this prominence clearly marks the posterior limit of the scapula, an easily identifiable landmark.
C : The 18th thoracic vertebra
To locate the 18th and last thoracic vertebra, begin by palpating the last palpable rib at the rear of the flank. Follow this rib upward toward the spine. As you move upward, it becomes less perceptible as it sinks beneath the dorsal musculature. Anatomically estimate the position of the 18th vertebra at its junction with the spine.
B : The 13th thoracic vertebra
Starting from the previously identified 18th thoracic vertebra, move forward toward the withers while carefully palpating and counting five vertebrae one by one. This method allows precise identification of the 13th vertebra, an essential reference point for dorsal measurements.
For accuracy, work in a calm and stable environment on a flat surface. The horse must be relaxed and standing naturally balanced, ideally held by an experienced handler. Use discreet yet durable markings that will withstand the measuring session. Take your time palpating each point and adjust according to the horse’s individual morphology, which may vary significantly from one animal to another.
Anatomical measurements
Once the anatomical reference points have been identified and marked, proceed with the measurements by following the instructions below. Use a graduated flexible wire, a non-toxic grease pencil, adhesive tape, and a spirit level with angle gauge to ensure precision.
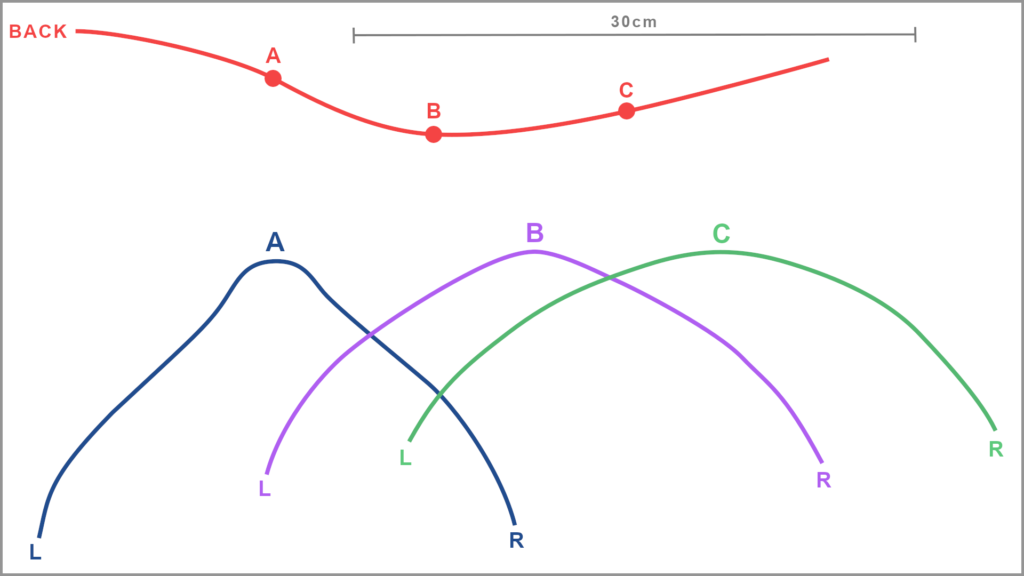
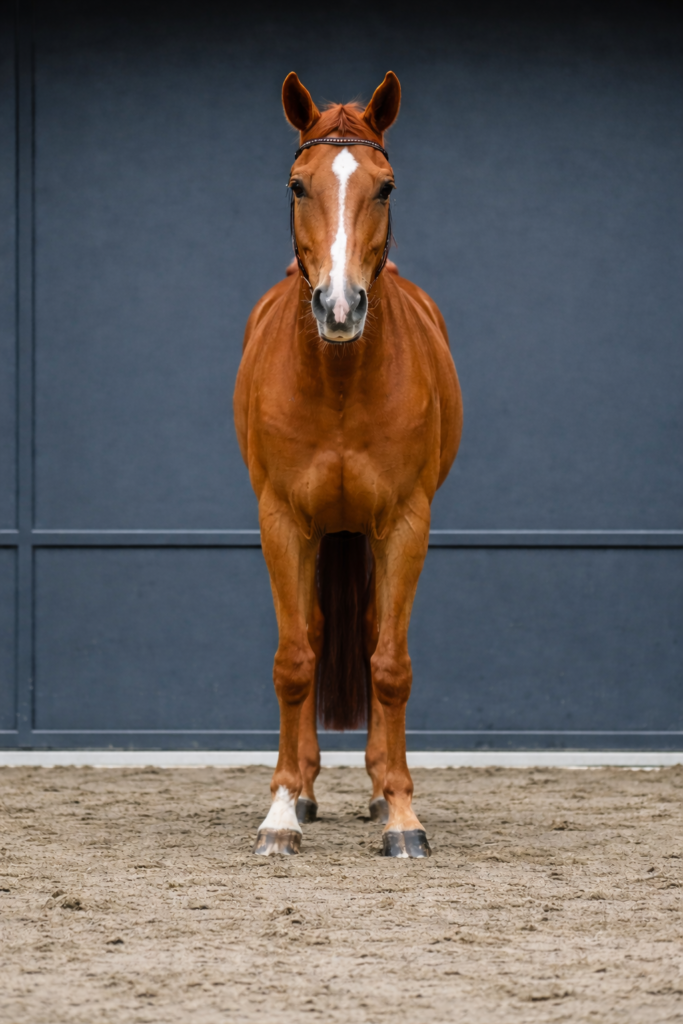
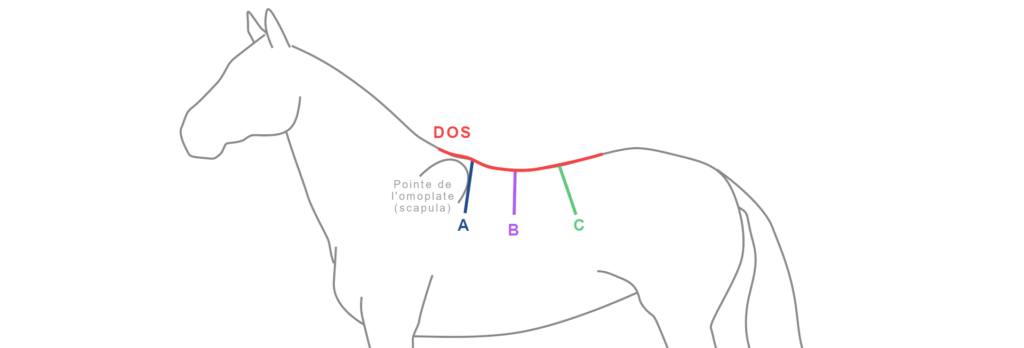
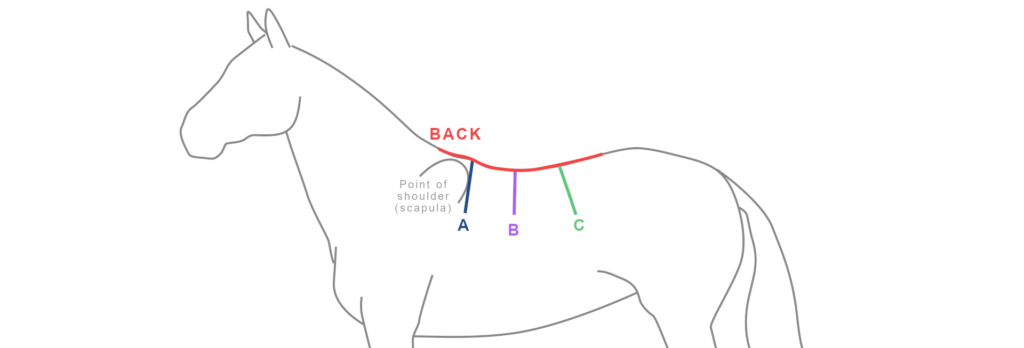
BACK – Midline of the back (longitudinal profile)
-
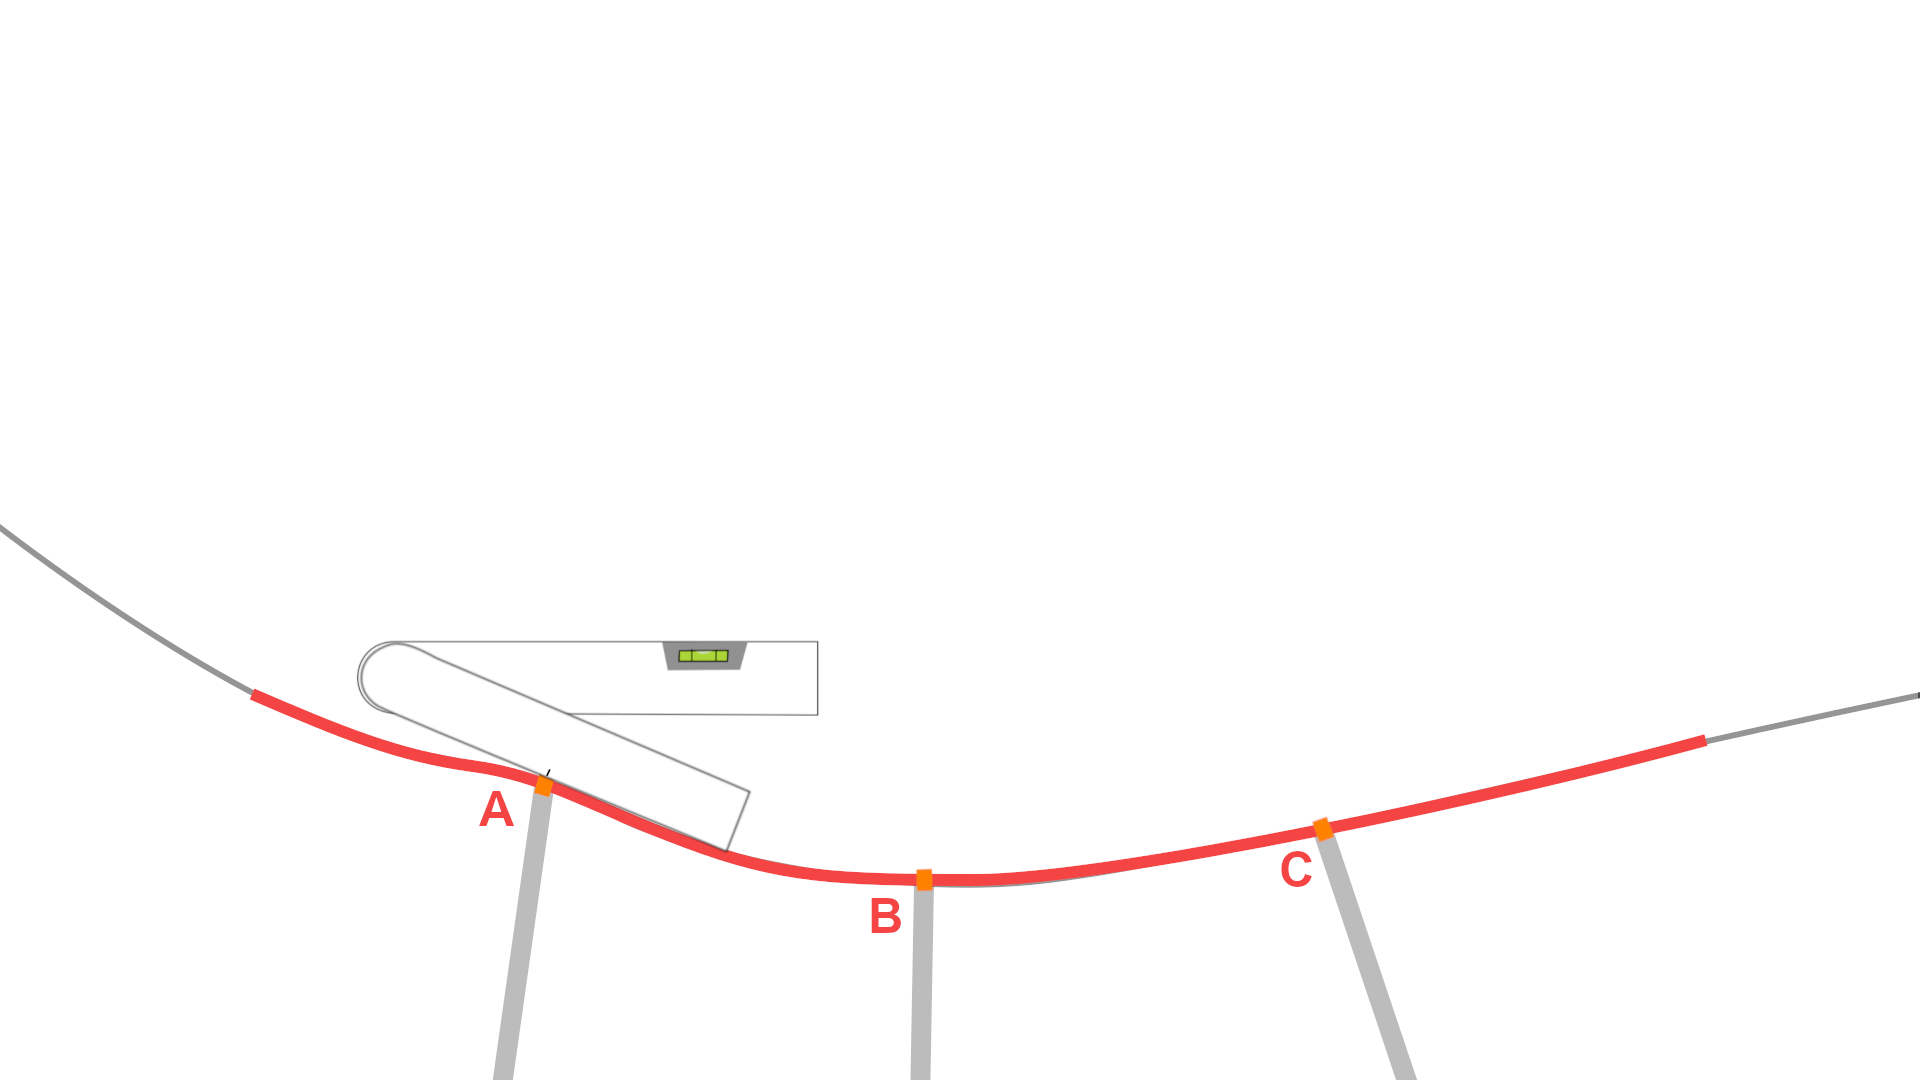
Positioning the flexible wire :
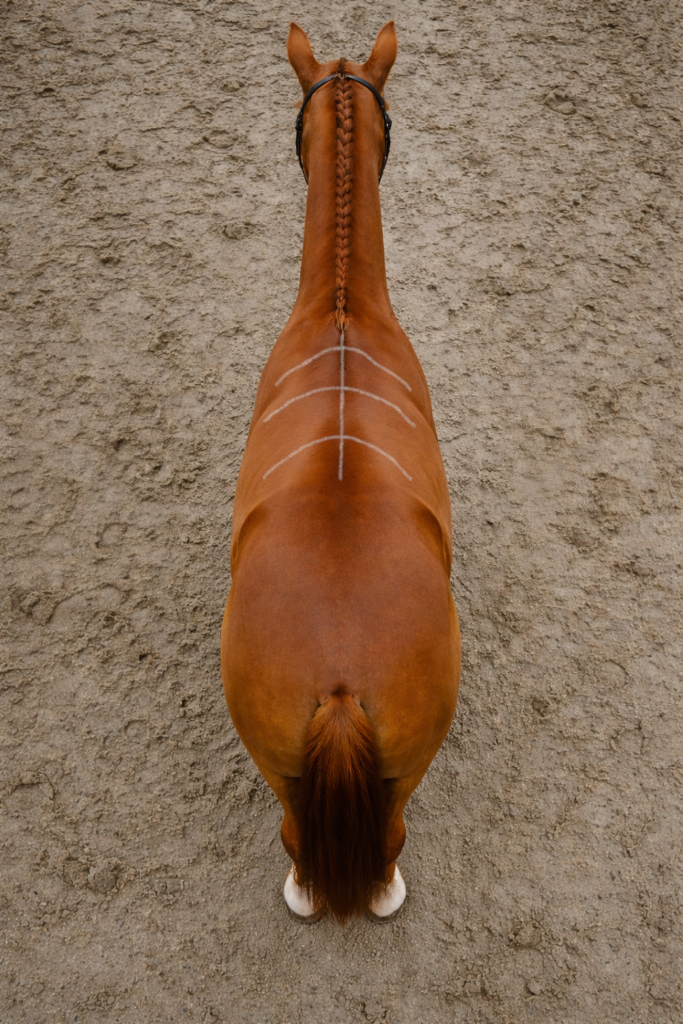
Place the graduated flexible wire along the midline of the back, following exactly the line drawn between the withers and the last rib. -
Mark the intersections :
Using pieces of adhesive tape, mark on the wire the intersection points with the transverse reference points A, B, and C. -
Follow the shape of the back :
Shape the wire so that it perfectly follows the natural curvature of the back. Ensure that it remains properly centered throughout the entire line. -
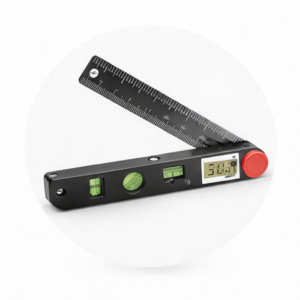
Measuring the inclination :
Using a spirit level with angle gauge, measure the inclination of the wire in relation to the horizontal, taking as reference one of the points marked on the wire (for example, A). -
Transfer onto paper :
Transfer the shape of the wire onto a sheet of paper while maintaining the correct orientation. Take one edge of the sheet as a horizontal reference and reproduce the curve using the measured angle.
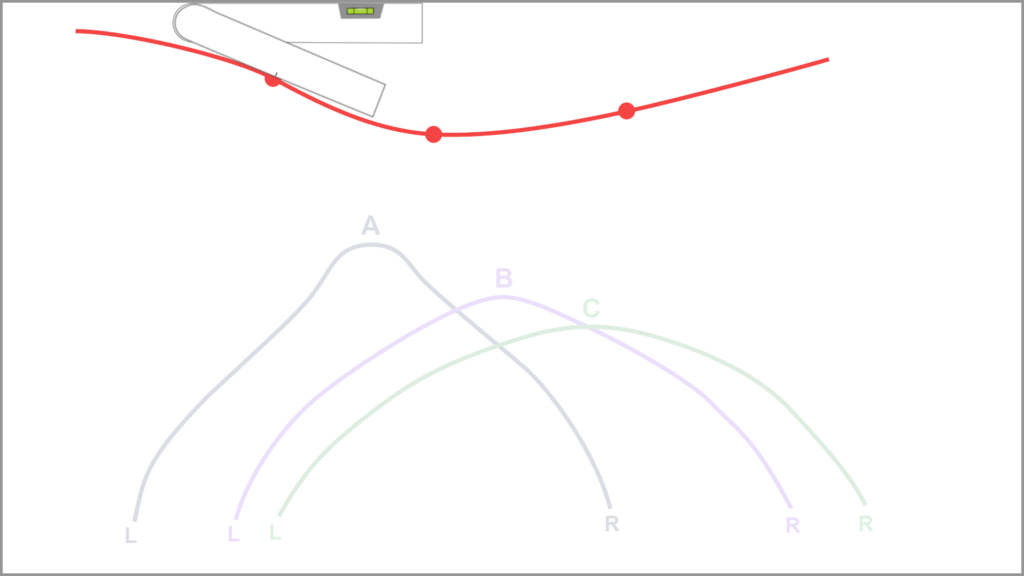
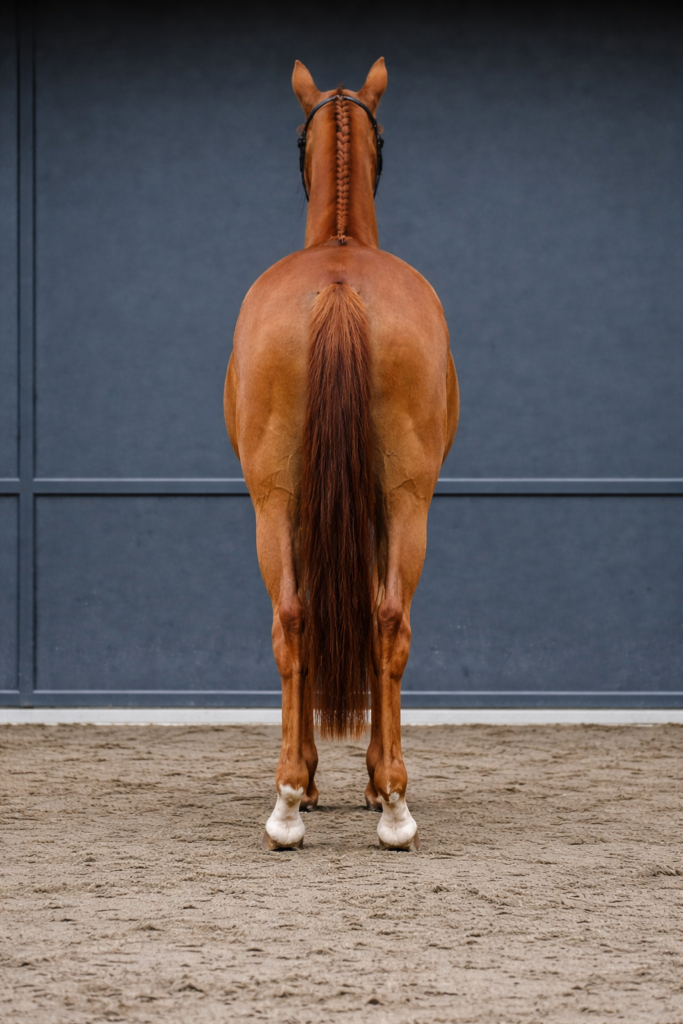
A, B, C – Transverse sections (back shapes)
-
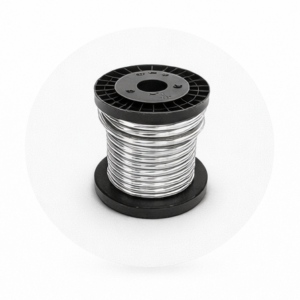
Prepare the flexible wire :
Use a flexible wire whose center has been marked with adhesive tape or a visible mark. -
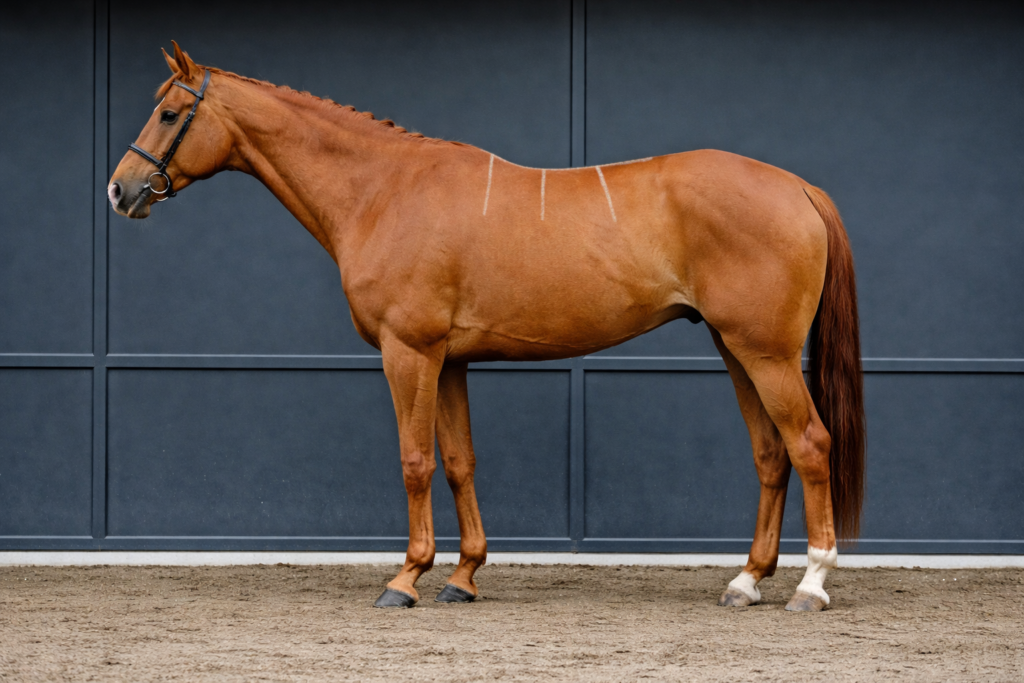
Position on the horse :
Place the wire on the horse’s back at the location of the marked reference points (A, B, or C). Precisely center the wire on the midline of the back. -
Shape the form :
Model the wire so that it perfectly follows the transverse shape of the back at the measured location. -
Reproduce on paper :
Carefully transfer the obtained shape onto a sheet of paper, positioning the wire exactly as it was on the back. Clearly indicate the left and right sides. -
Repeat for each point :
Carry out this operation for the three transverse sections :- A : area corresponding to the 5th thoracic vertebra
- B : at the level of the 13th thoracic vertebra
- C : at the level of the 18th thoracic vertebra
Final recording of measurements
Do not forget to indicate the marked reference points on the BACK curve (location of the adhesive tapes corresponding to A, B and C). Orient the curve using the spirit level on the sheet. Each transverse curve (A, B, C) must be clearly identified, with indication of the left and right sides (L, R).
The colours used for the drawing are not important, as long as the whole remains legible.
It is mandatory to add a scale reference, ideally a horizontal segment of 30 cm drawn on the sheet.
The most suitable support is an A3 sheet, or an assembly of several A3 sheets in order to provide sufficient space to accurately reproduce all curves and annotations.
Here is what your final recording should look like.
Horse photographs to be provided
The photographs ideally complement the manual measurements by offering the saddle tree manufacturer a global view of the horse’s morphology. They make it possible to contextualize the measurements and to identify possible particularities not captured by the recorded profiles.
Photograph the horse in profile, standing square on flat ground. Make sure the horse is framed entirely, from head to tail. This view makes it possible to access the back line, the position of the withers and the general proportion of the horse. Position yourself at a moderate distance, at withers height.
Full lateral view
Take a photograph by positioning yourself above the back at the rear of the horse, capturing the area extending from the croup to the withers. This perspective reveals the general shape of the back, its symmetry and the muscular distribution. For this shot, use a stable step if necessary.
Top view
Photograph the horse from the front and from behind, mainly framing the upper body. These angles allow evaluation of the symmetry of the shoulders and pelvis, as well as the width and musculature of the forehand and hindquarters, elements which influence saddle positioning.
Front and rear views
Recommendations for optimal photographs
- Photograph the horse in a well-lit environment, ideally in indirect natural light, without pronounced shadows.
- Place the horse on a flat and hard surface, with the four limbs square and evenly distributed.
- Remove any equipment (blanket, halter) that could conceal the morphology, except for a discreet halter if necessary.
- Make sure to keep the anatomical reference points visible with the temporary marker.
- Take several shots of each view to ensure at least one perfectly sharp and well-framed photograph.
Guidelines for reliable measurements and data transmission
Ensuring reliable measurements
The precision of the measurements directly determine the quality of the final saddle tree. Below are essential recommendations to guarantee reliable recordings :
Position of the horse
Place the horse on a flat and hard surface, with the four limbs square and symmetrically distributed. The head and neck must be in a natural position, neither too high nor too low, ideally at the height of the withers. Avoid measuring a horse that is tired or tense.
Appropriate timing
Choose a moment when the horse is calm but alert, ideally after a light warm-up that has relaxed its back musculature. Avoid taking measurements after intense effort or when the horse is cold.
Repetition of measurements
Carry out each measurement at least twice in order to verify its reproducibility. In the event of a significant discrepancy, repeat the measurement until consistent values are obtained. For young horses or horses undergoing physical reconditioning, plan to repeat the measurements at regular intervals.
Compilation and transmission of data
Once all measurements have been taken, the profiles drawn and the photographs captured,
it is important to transmit all the elements clearly, in order to guarantee precise and adapted manufacturing.
Organize methodically all the collected information :
- Profile drawings : midline + transverse sections A, B, C, produced on A3 sheets, then scanned or photographed flat, without shadows or distortion.
- Photographs : Select the best photographs for each angle and send them in high resolution, without excessive compression that could degrade the details.
- Additional comments :
- The horse's history (past injuries, back problems, particular sensitivity).
- Its morphological particularities (asymmetry, muscle atrophy, uneven development).
- Its age.
- Its discipline and main activity (jumping, dressage, hacking, endurance, daily work, etc.).
- As well as the rider's specific preferences or requirements.
- Send all files as attachments to the following address
raymondbodin@arconnerie-francaise.com or by using the contact form.
What are these measurements used for ?
The measurements and photographs that you send us allow us to virtually reconstruct your horse's back in 3D.
Thanks to this model, we can :
- Precisely simulate the positioning of the saddle tree and its pressure distribution,
- Adapt the saddle tree to the real morphology of the horse, including in cases of asymmetry,
- Design a genuinely custom-made solution, optimizing comfort and performance,
- And provide you with technical guidance in cases of anatomical particularities or specific needs.
Need help ?
The accuracy of the recordings provided engages the responsibility of the professional who carried out the measurement process. In case of doubt regarding the measurements or the documents to be provided, do not hesitate to contact us. We are available to support you at every stage.
